Create a landing page
Thank you for signing up with EarlyBird. We are thrilled to have you on board and look forward to helping you create stunning high-converting landing pages.
NOTE
This article represents the getting started guide for the latest version of EarlyBird (v1.7.0). The page will be updated routinely. If you need real-time support and community access, please chat with us on Discord. Noticed a bug or glitch? please report it here.
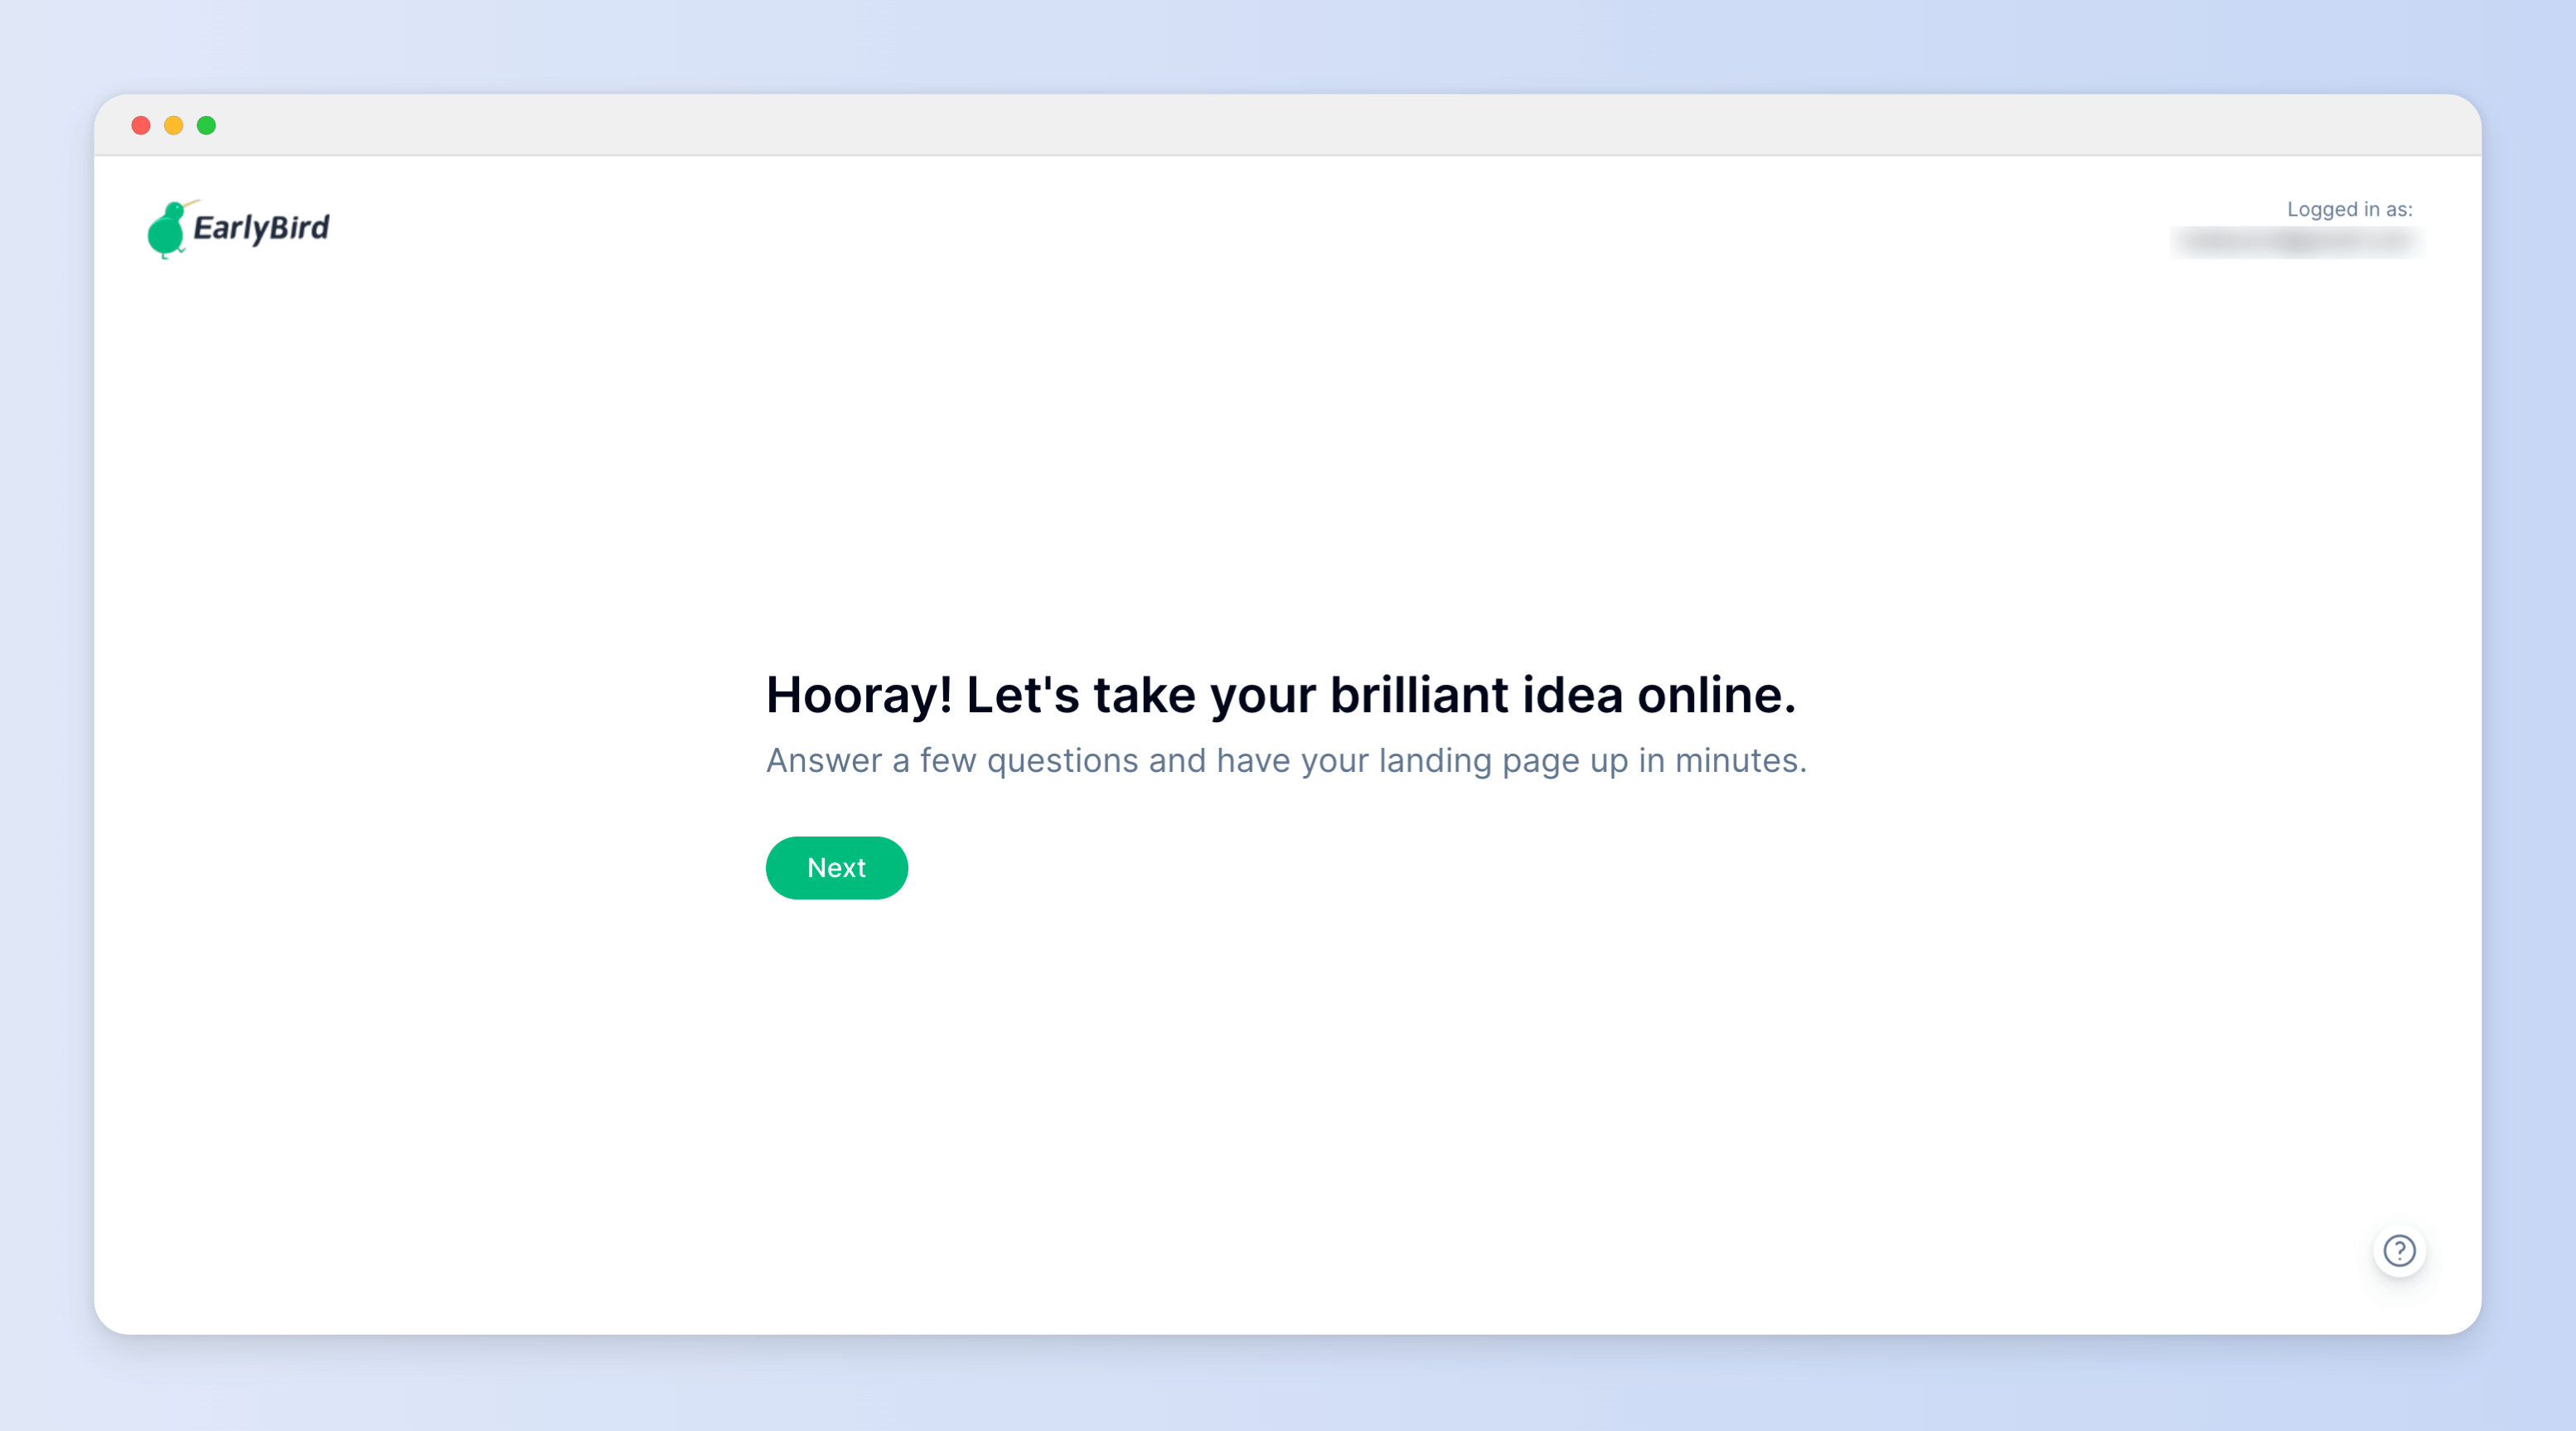
Using the getting started wizard
After creating an account, you will be redirected to a user-friendly wizard that guides you through the process of creating your own landing page.
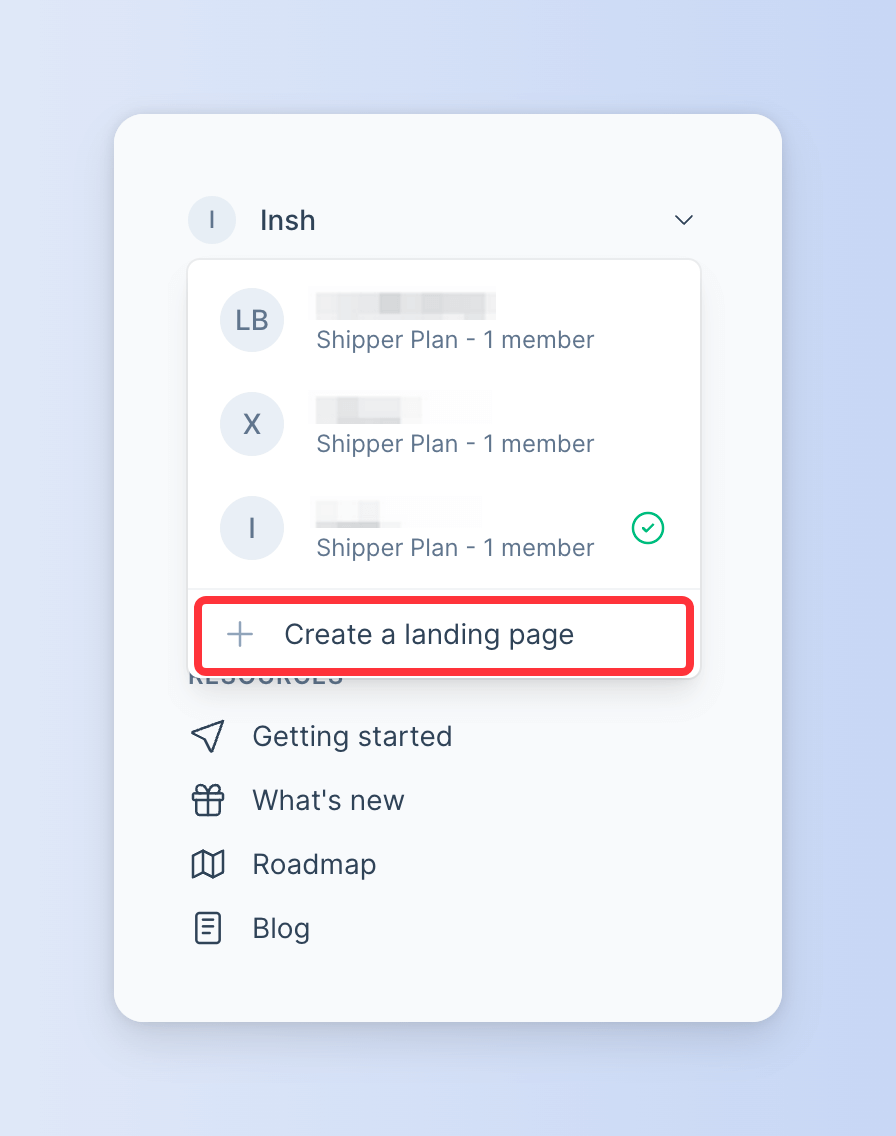
To create a second or subsequent landing page, just click the dropdown menu at the top of the dashboard sidebar and select Create a landing page.
1. Choose a template
Starting from version 1.7.0, EarlyBird has made a significant change by adopting a template-based building system. This new approach allows for faster creation of landing pages.
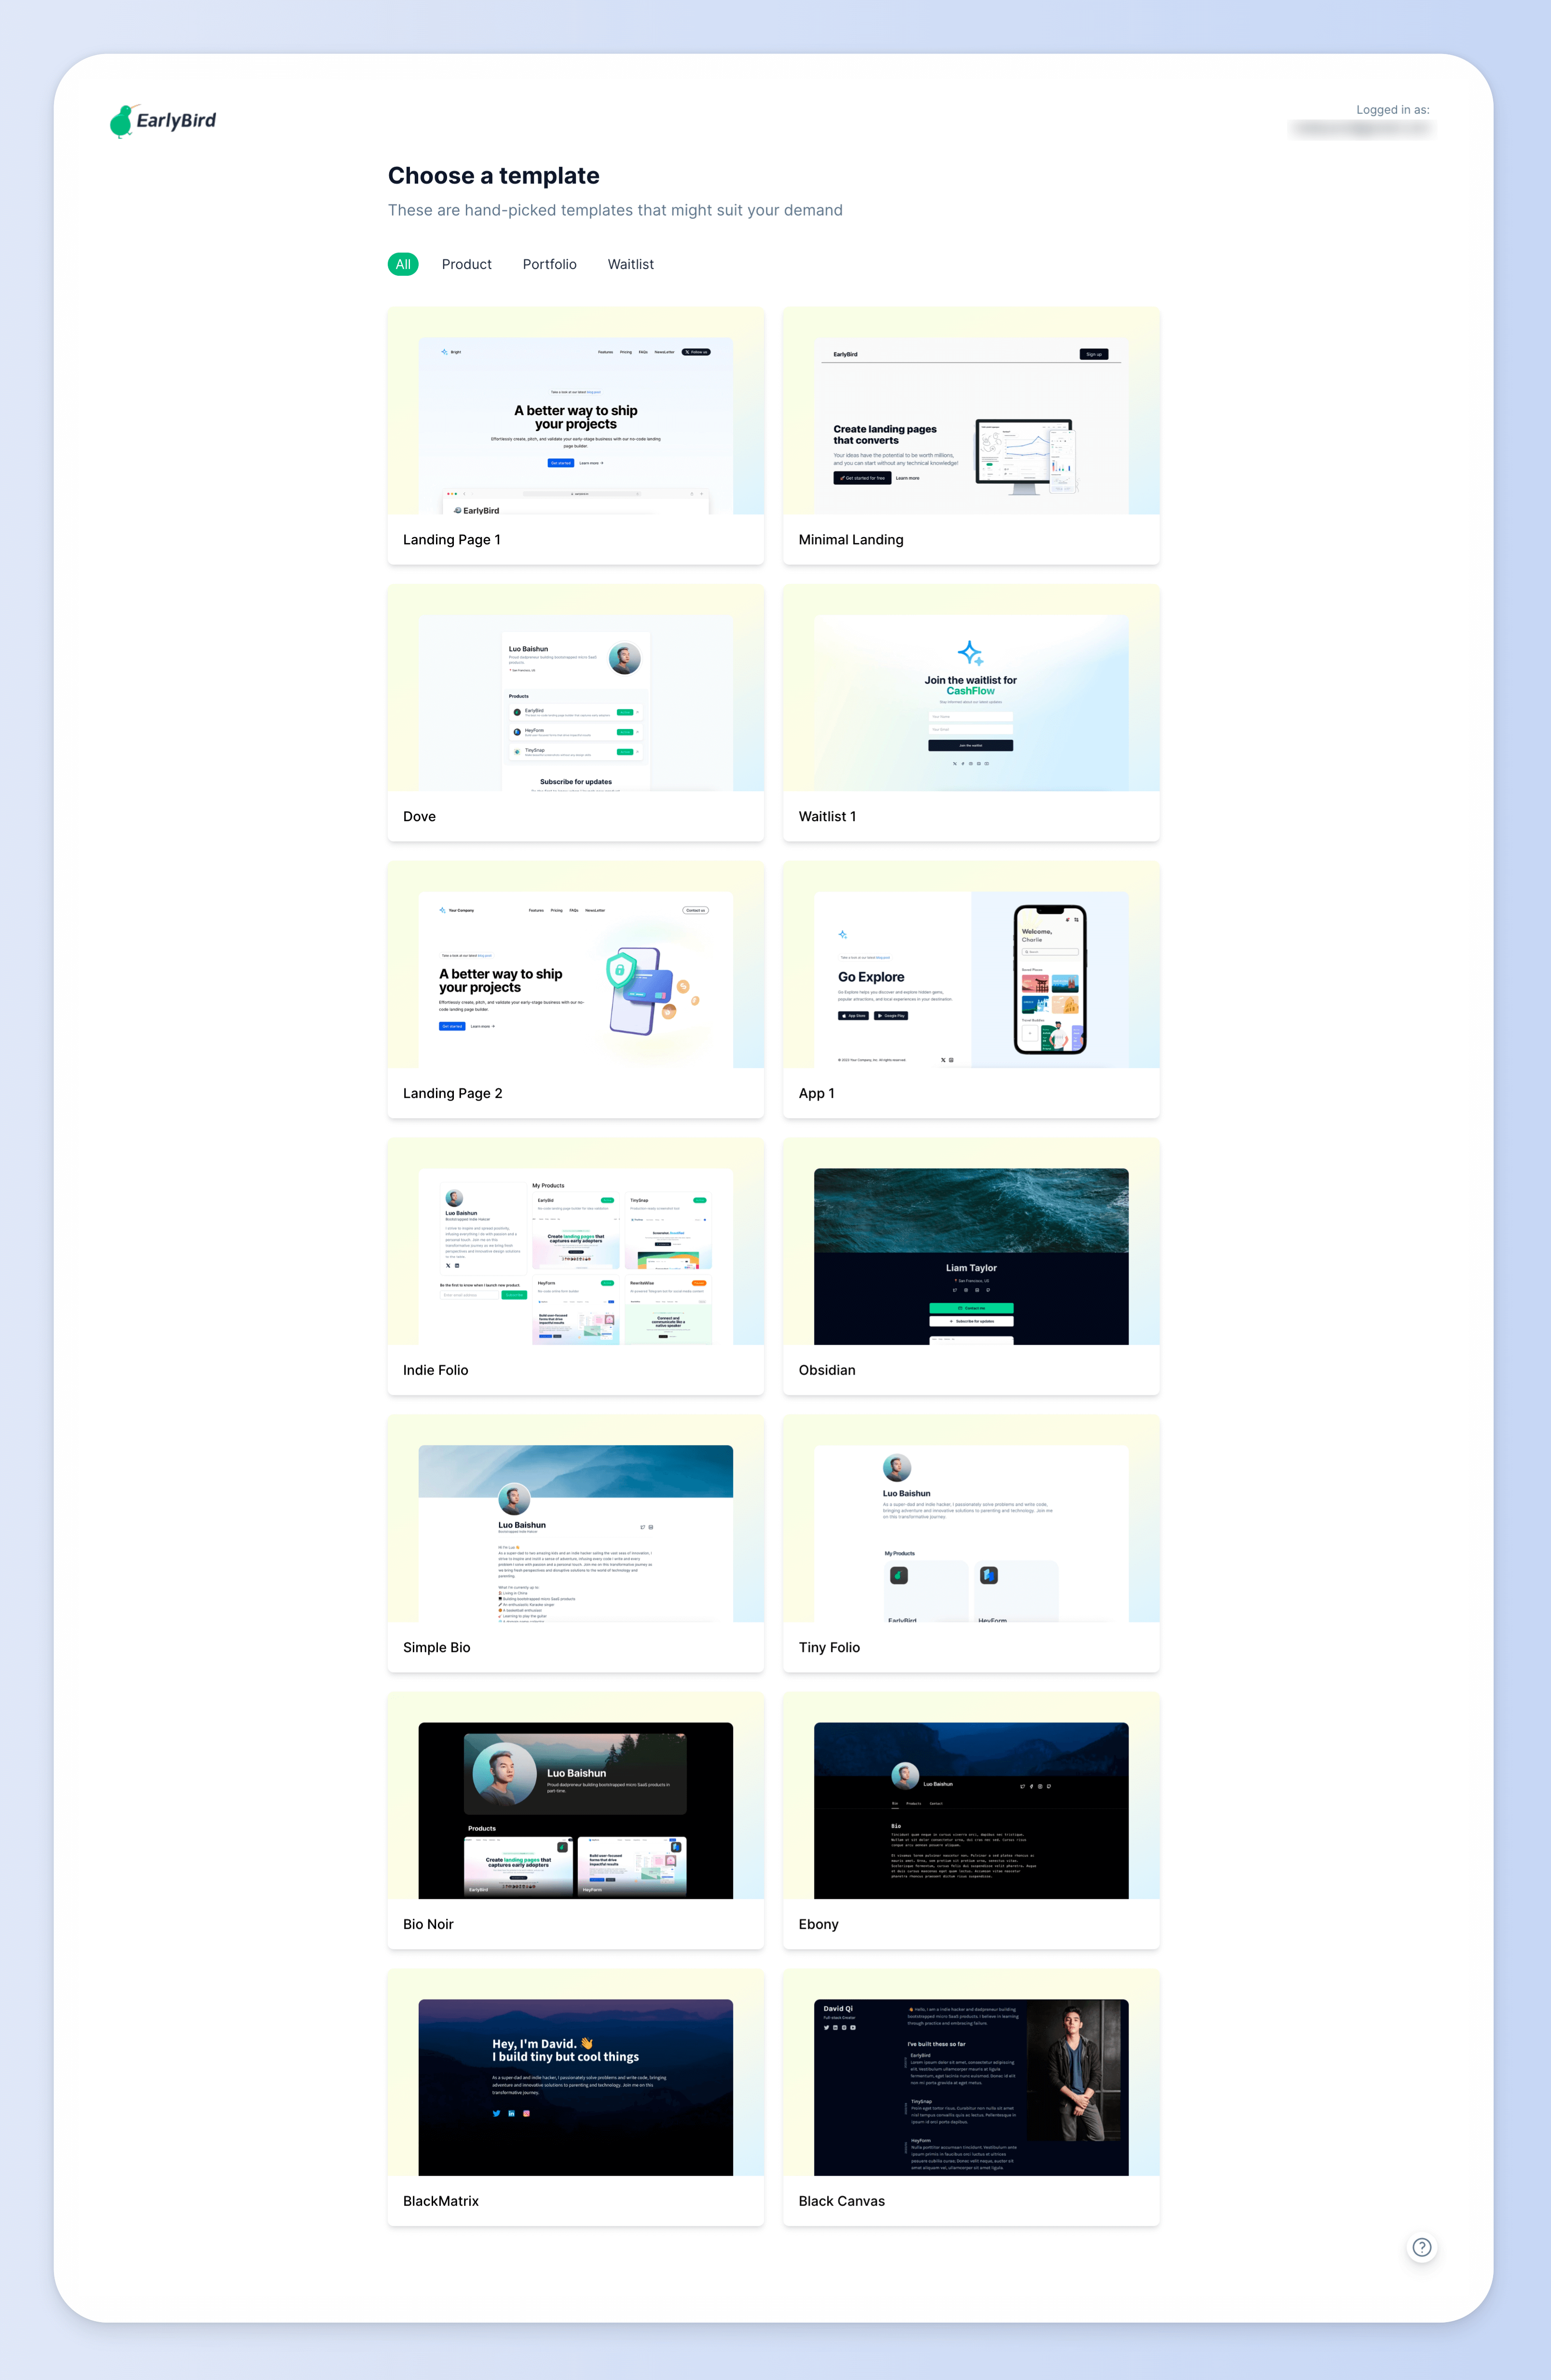
Currently, EarlyBird offers over 16 hand-crafted landing page templates. We are continuously expanding our collection with new templates released on a weekly basis.
Additionally, we invite developers and designers to join us in creating and contributing to even more innovative landing page designs.
Note
Attention developers and designers! If you're interested in earning money by creating templates for EarlyBird, please refer to our developer documentation.
Didn't find any template you were looking for?
Let us know what you're looking for and we'll make it happen! We'll assess the demand and find a way to meet your needs.
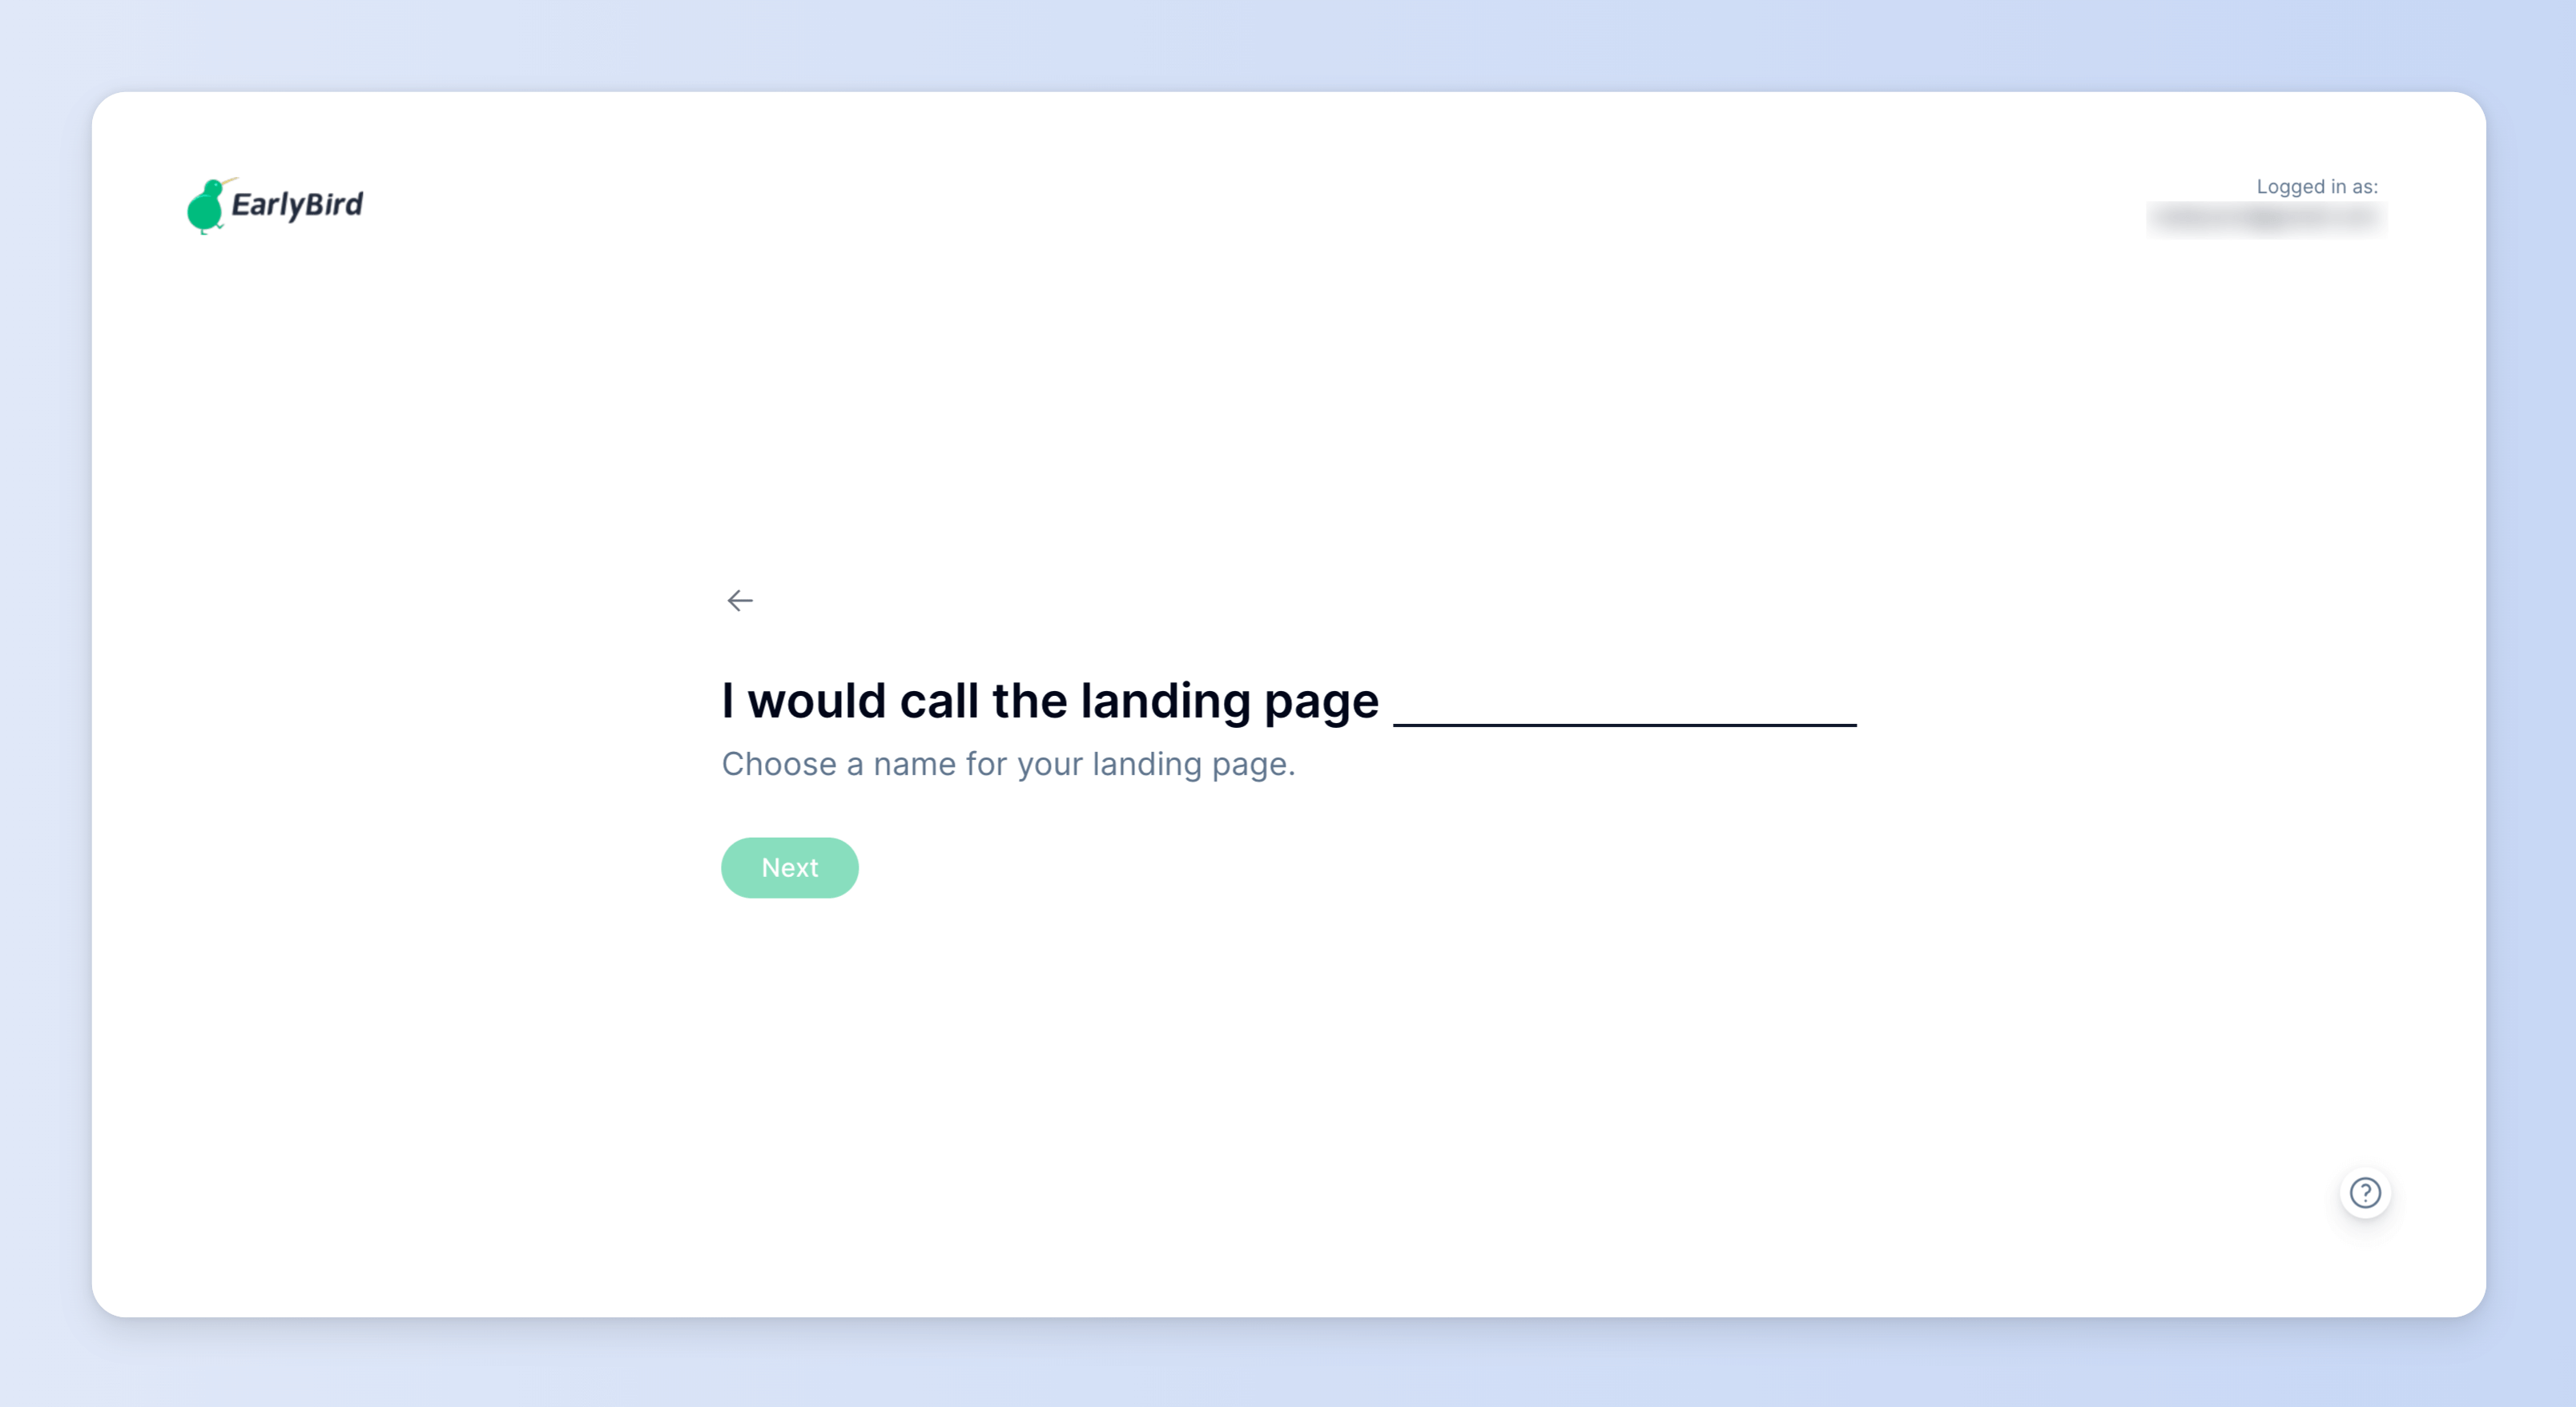
2. Give your landing page a name
After choosing a template, you need to assign a name to your landing page. However, keep in mind that you can always update it later on.
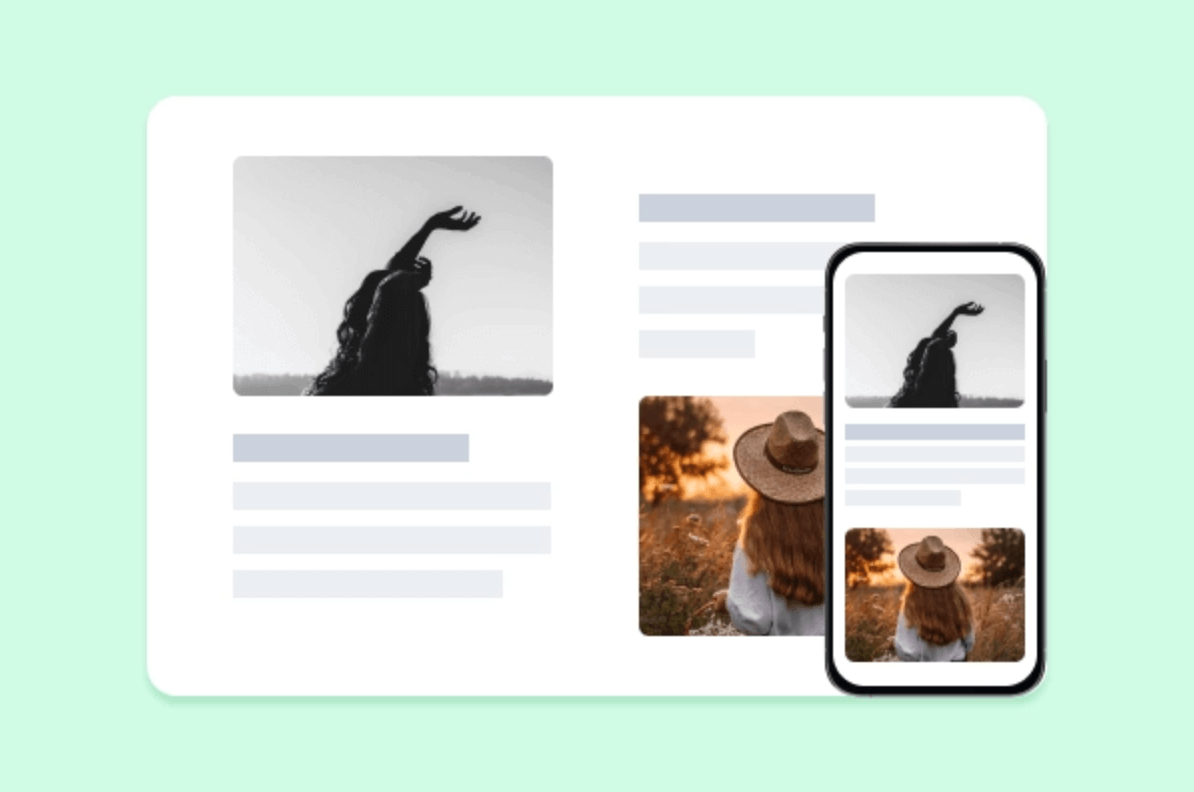
3. Craft your landing page content
Once you have set the name, you will be redirected to the landing page builder. The builder features a real-time preview section on the left and an options section on the right.
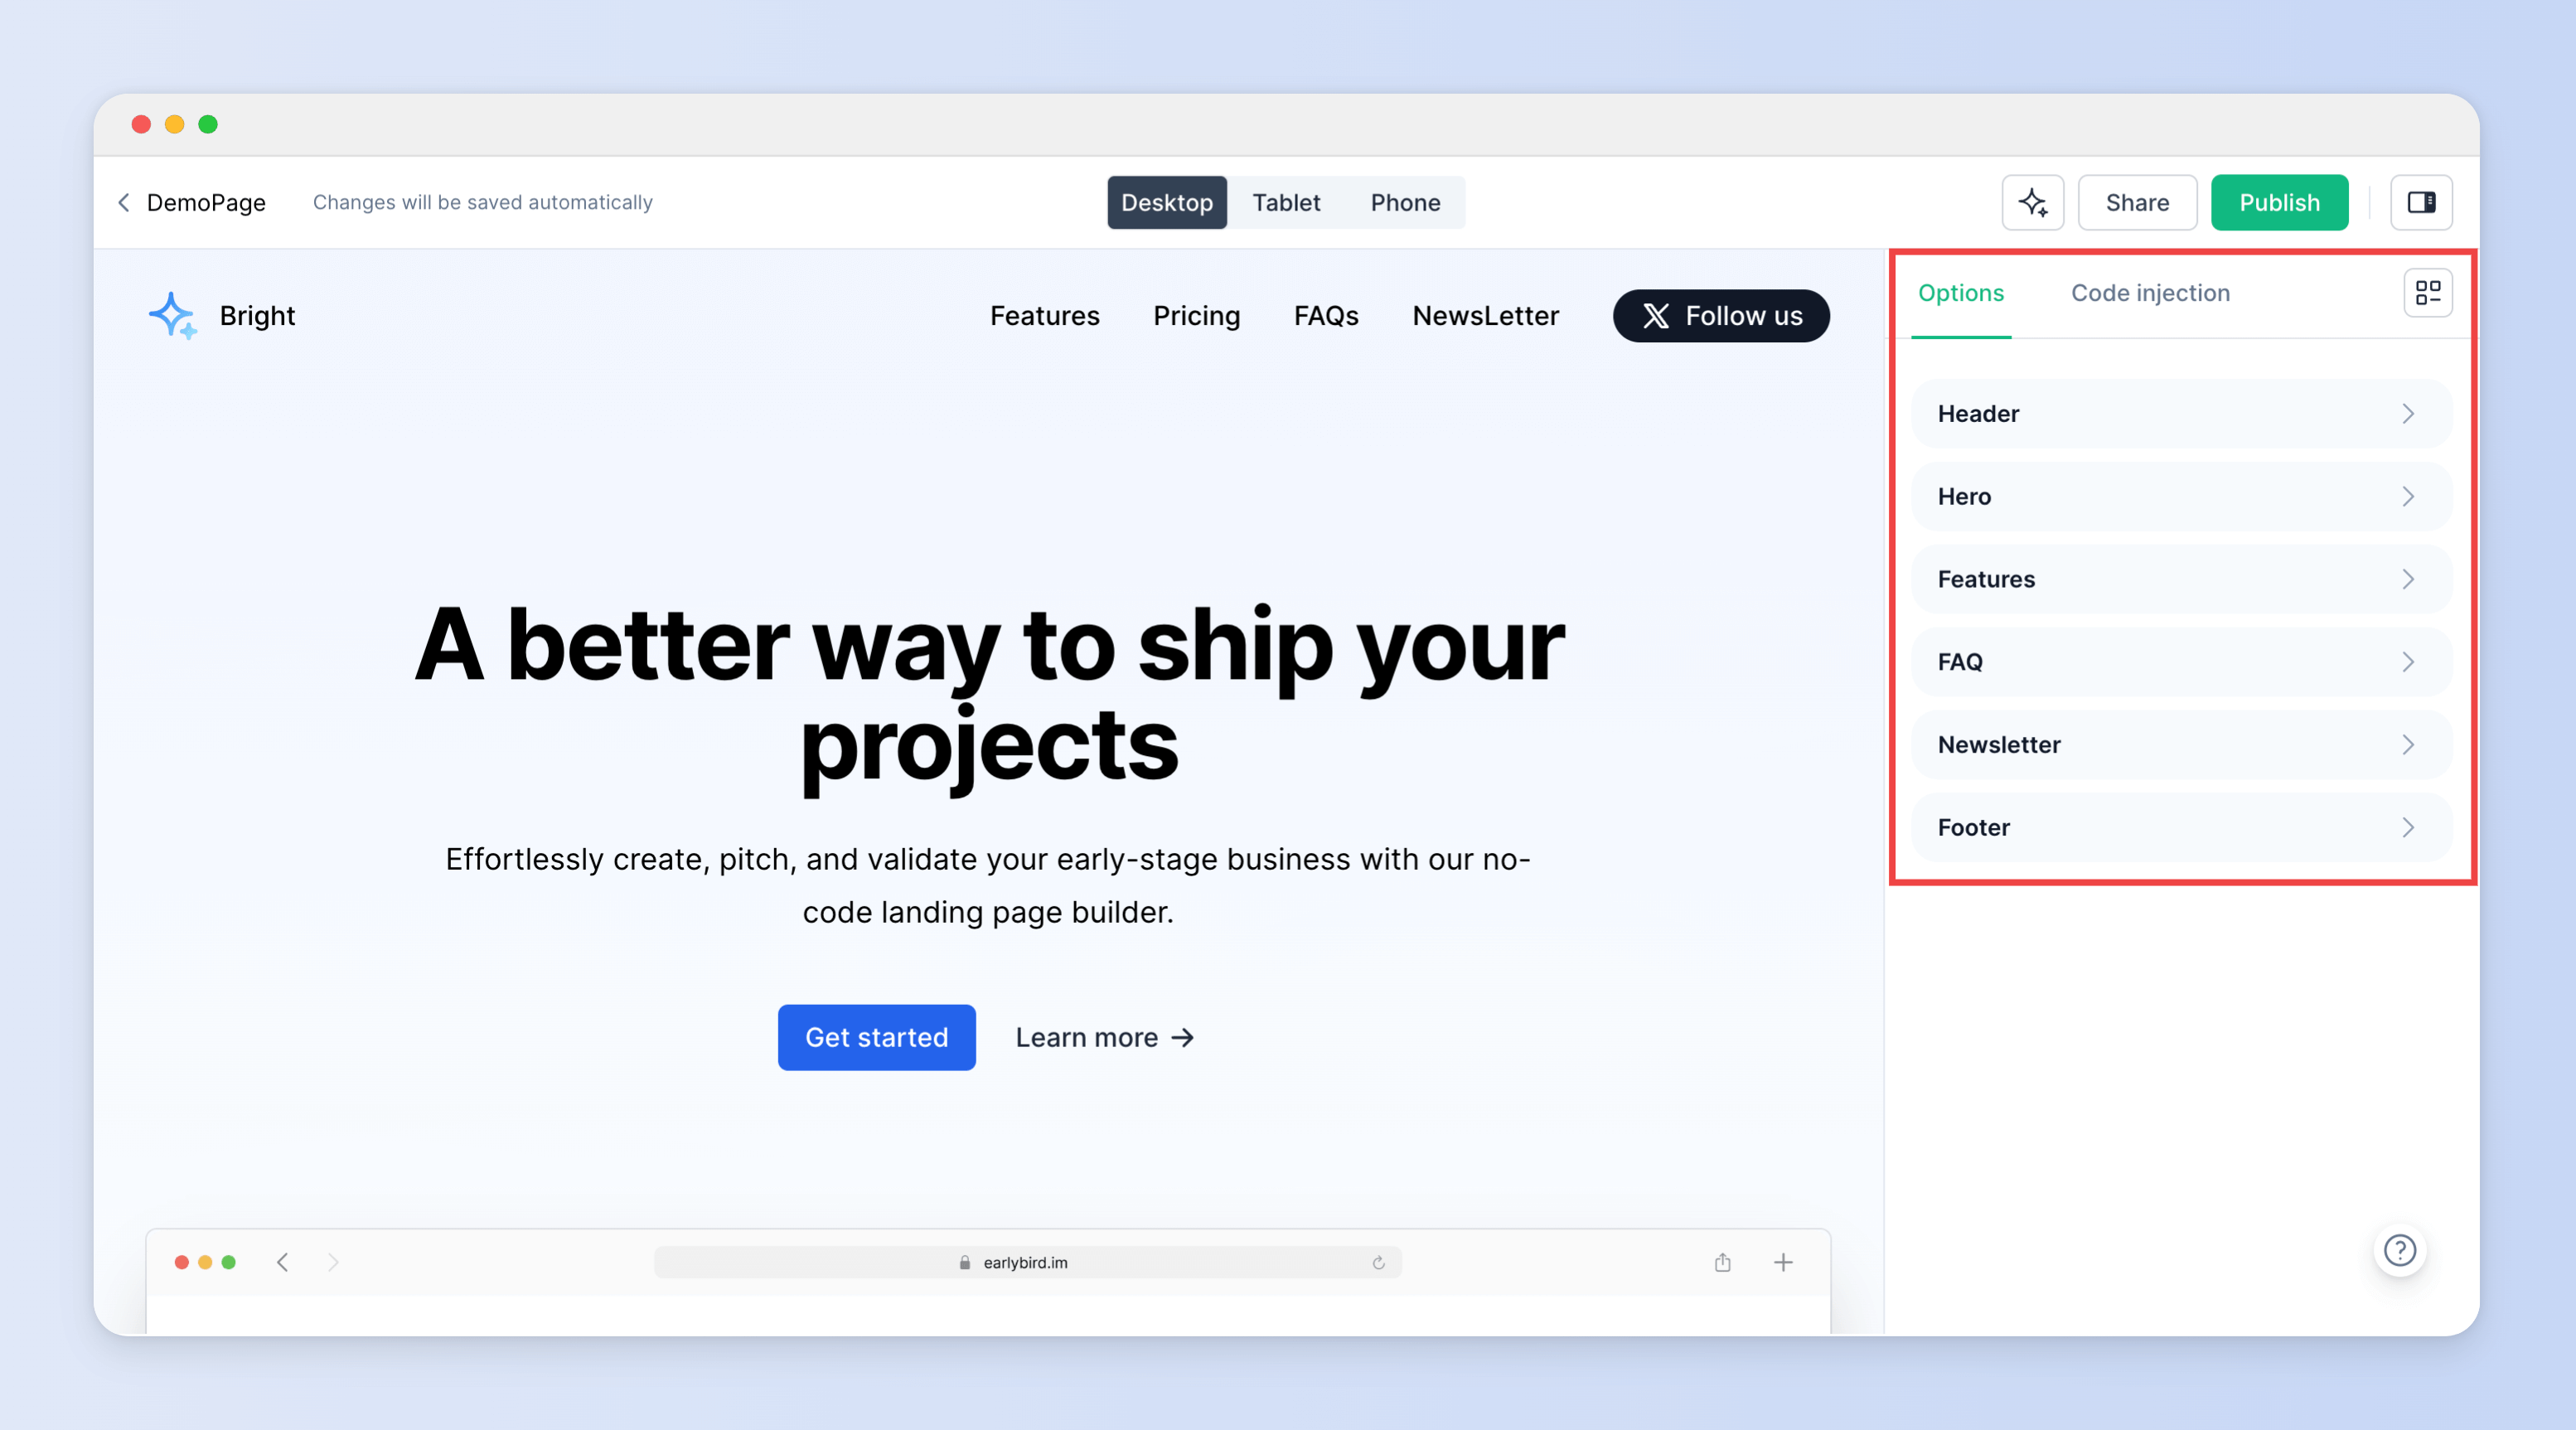
Clicking on any component in the options will reveal the corresponding fields for landing page content.
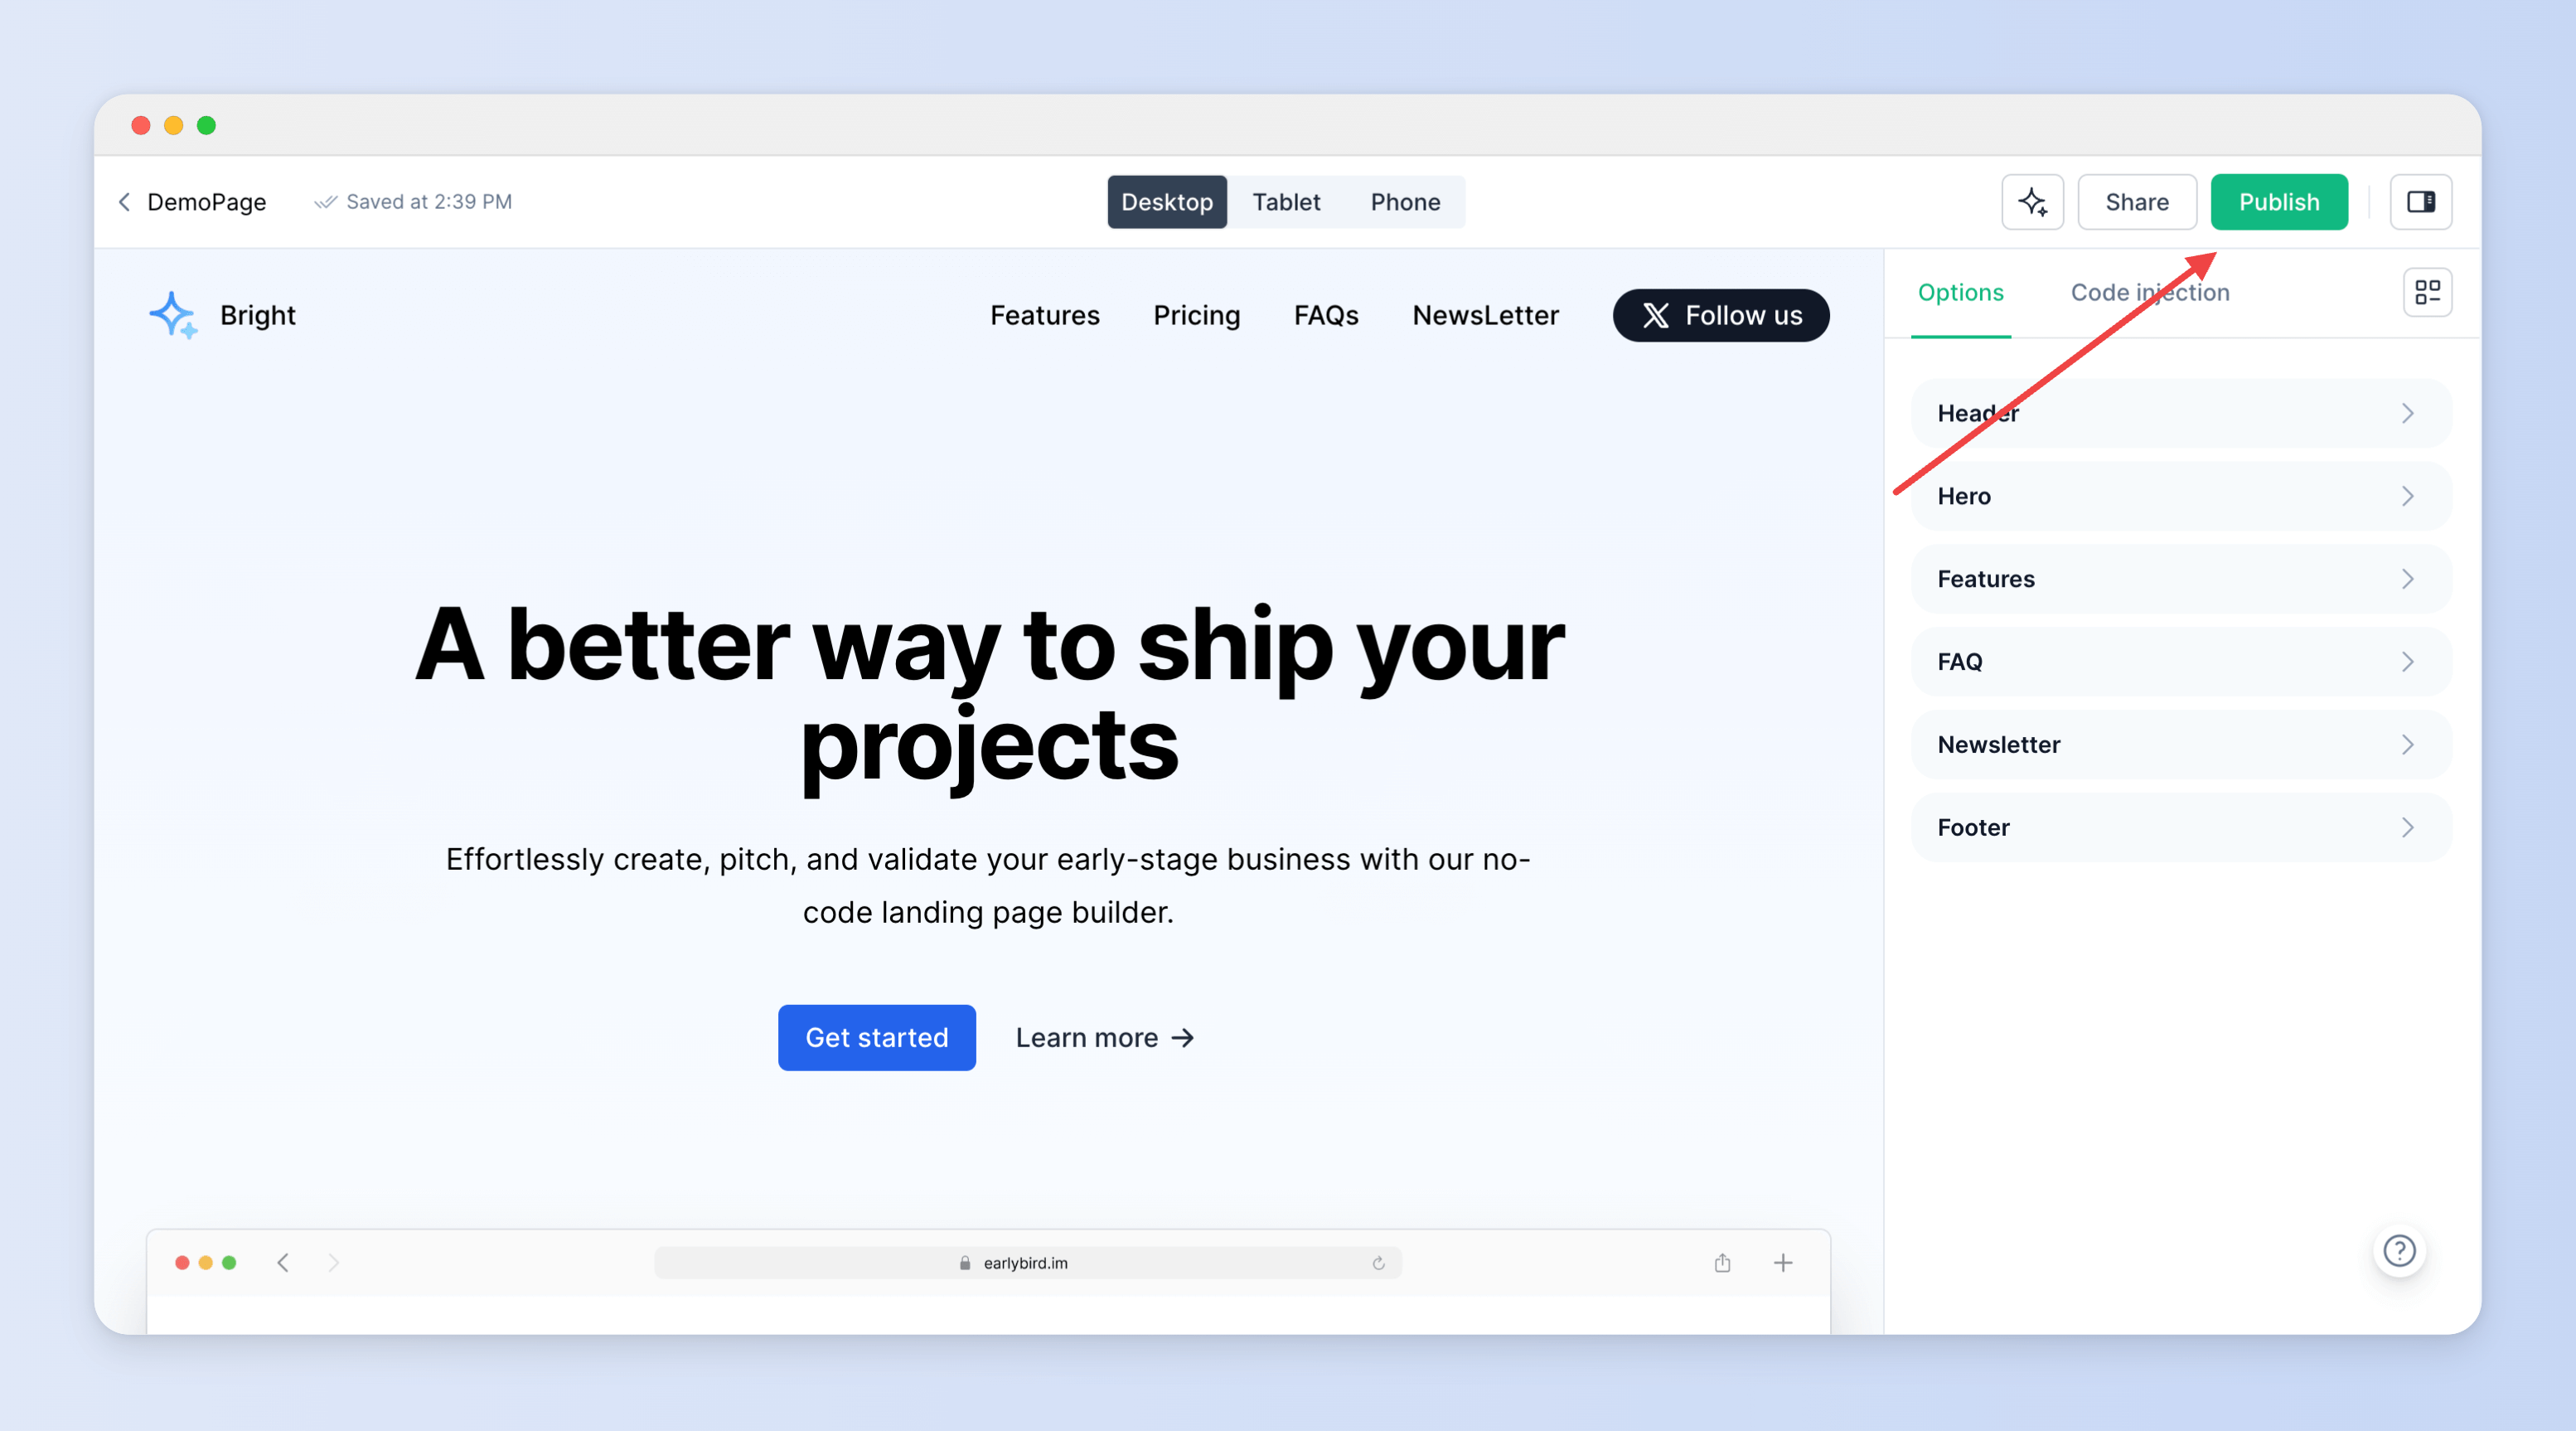
4. Publish your landing page
Now that you have finished crafting the content for your landing page, it's time to publish it and make it available to the public.
Simply hit the Publish button on the top right and you are all set!
You should launch as fast as you can!
You don't need to strive for perfection! It's definitely fine to start with a small idea or an incomplete product. The key is to identify the problem you're solving and offer a solution. After all, every successful product begins with validating the idea.
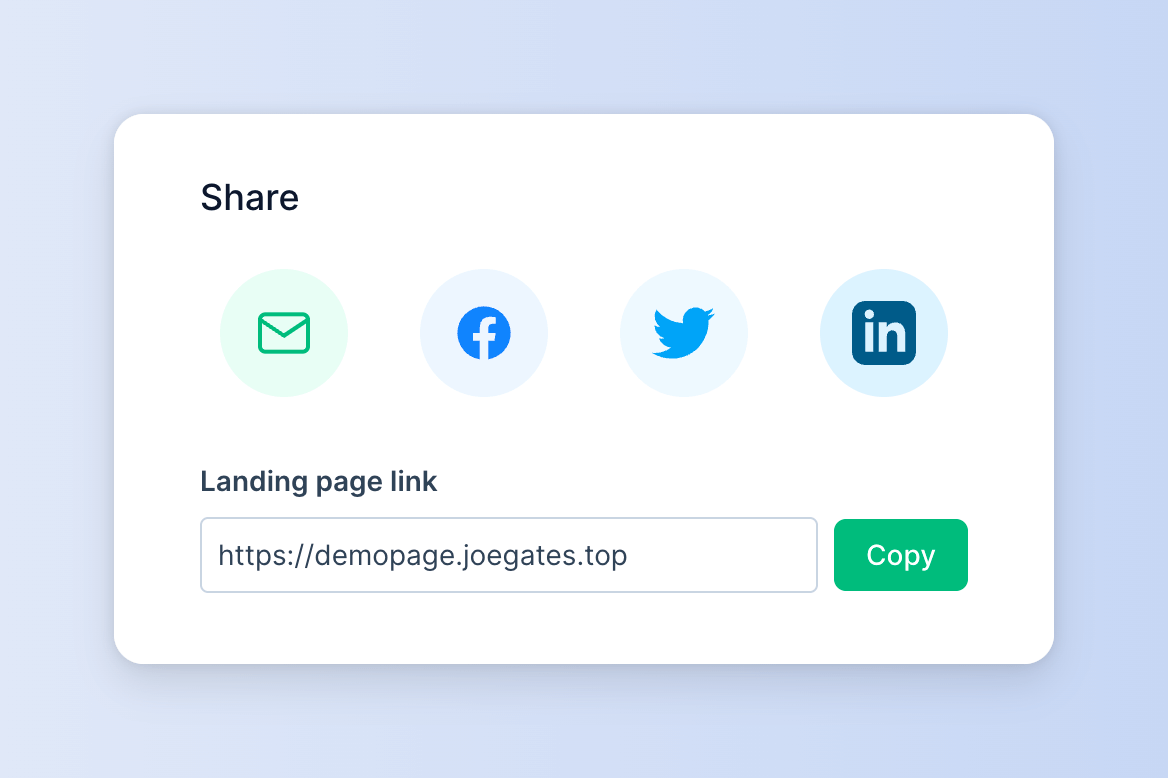
5. Share your landing page
Congratulations on launching your landing page! What's the next step?
It's time to engage your audience!
Consider spreading the word about your landing page through various channels:
- Social media platforms
- Online communities
- Instant messaging groups
Obtain your landing page link by clicking on the Share button on the top bar of landing page builder, and you will get a modal like this: